As an Amazon Associate, I earn from qualifying purchases.
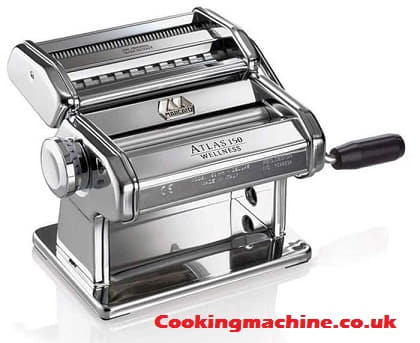
Are you an Italian pasta lover? If yes, a pasta maker machine will be an essential appliance in your kitchen to make fresh-made pasta daily at home. However, one of the drawbacks besides its convenience and inexpensiveness is cleaning routine after use. To get it done, follow the easy instructions below to learn how to clean a pasta machine properly!
Contents
How to Clean Pasta Machine?
Manual and electric are two common categories of pasta machines in the market these days. Therefore, both types of appliances have different cleaning methods and tips. Let’s go through simple steps to clean these two types of machines.
Manual Pasta Machine Cleaning
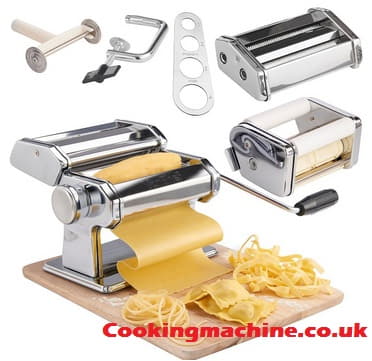
Manual Pasta Machine
A manual pasta maker is made out of metal and wood, so cleaning a pasta machine is not as simple as washing dishes. Six simple steps below will help!
Step 1: Removing any detachable pieces out of the machine.
Detaching some removable pieces of a hand-crank pasta machine is the first thing you must do before cleaning the majority part. In most manual makers, C-clamp and appendages are parts that can be taken piece by piece easily. When these parts are separated, it is simpler for you to clean up the dustiest areas of the machine – the rollers.
Step 2: Cleaning the roller with polymer clay
In this step, get a piece of polymer clay or Play-Doh, then scroll it up and down the rollers at least four times. By doing so, all crumbs, stuck-on flour, and excess bits of dough stick with the clay and come out together.
Step 3: Brushing out the dust from every nook and crannies.
Once you’ve cleaned the actual dusty parts, it is essential to move on to nooks and crannies. Because of the tiny space, using a small brush or compressed air is the best choice for getting this job done.
Step 4: Wiping out the rollers.
This is the second time you clean the rollers. This time, you must use a damp cloth or wet wipe to move around the roller’s surface during this process to clean the underneath area thoroughly.
Step 5: Cleaning the outside
Besides the rollers, cleaning the outside of the machine is also very crucial. Once again, using a damp towel or baby wipe to clear up the stuck-on flour and fingerprints outside the pasta maker as well.
Step 6: Drying off the machine
Because most pasta makers are manufactured with stainless steel, drying it off with a soft towel after wiping it out is extremely important to avoid damaging the machine.
Electric Pasta Machine Cleaning
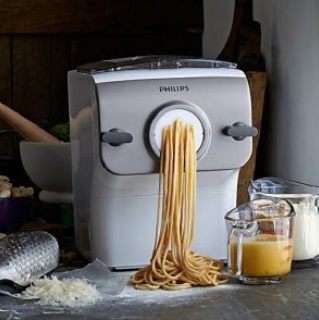
Electric Pasta Machine
Unlike the manual pasta maker, the electric version is a developed kitchen appliance containing some removable pieces that can be run through the dishwasher. Let’s explore five quicker steps below for cleaning effectively.
Step 1: Read the using book
Please look up the model and detail parts inside the machine from the manufacturing instructions book before cleaning.
Step 2: Unplug the machine power
Do not forget to unplug the machine from the outlet while you are cleaning the electric pasta machine. Specifically, it may cause other electrocution risks if the machine gets wet accidentally.
Step 3: Clean the dishwasher-safe pieces
Due to the manual user instruction book, some removable parts are safely put on the dishwasher, such as plastic-made pieces. Meanwhile, those made of stainless steel should not be washed on the dishwashing machine.
Step 4: Hand-wash any removable pieces
It would be best if you wash by hand any detachable parts made from stainless steel, copper, and aluminium. To wipe it down, you just need to use simple stuff such as dish soap, warm water, and a soft cloth.
Step 5: Wipe out the exterior of the machine and dry it off
After all, use a piece of wet cloth to remove the flour from the machine’s body. Finally, do not forget to dry it off with a second cloth.
Wrap Up
After reading our post, you now know how to clean pasta machine properly, right? Although this device is an ideal way to have the best flavour homemade pasta, it also brings worry when cleaning after use. However, we hope you can successfully apply the most effective tips listed above to deal with those fears!
Thank you for your reading, and see you in our next article!

Leave a Reply